CAMERA-FRIENDLY BROW & EYE MAKEUP TUTORIAL
By Team KBB
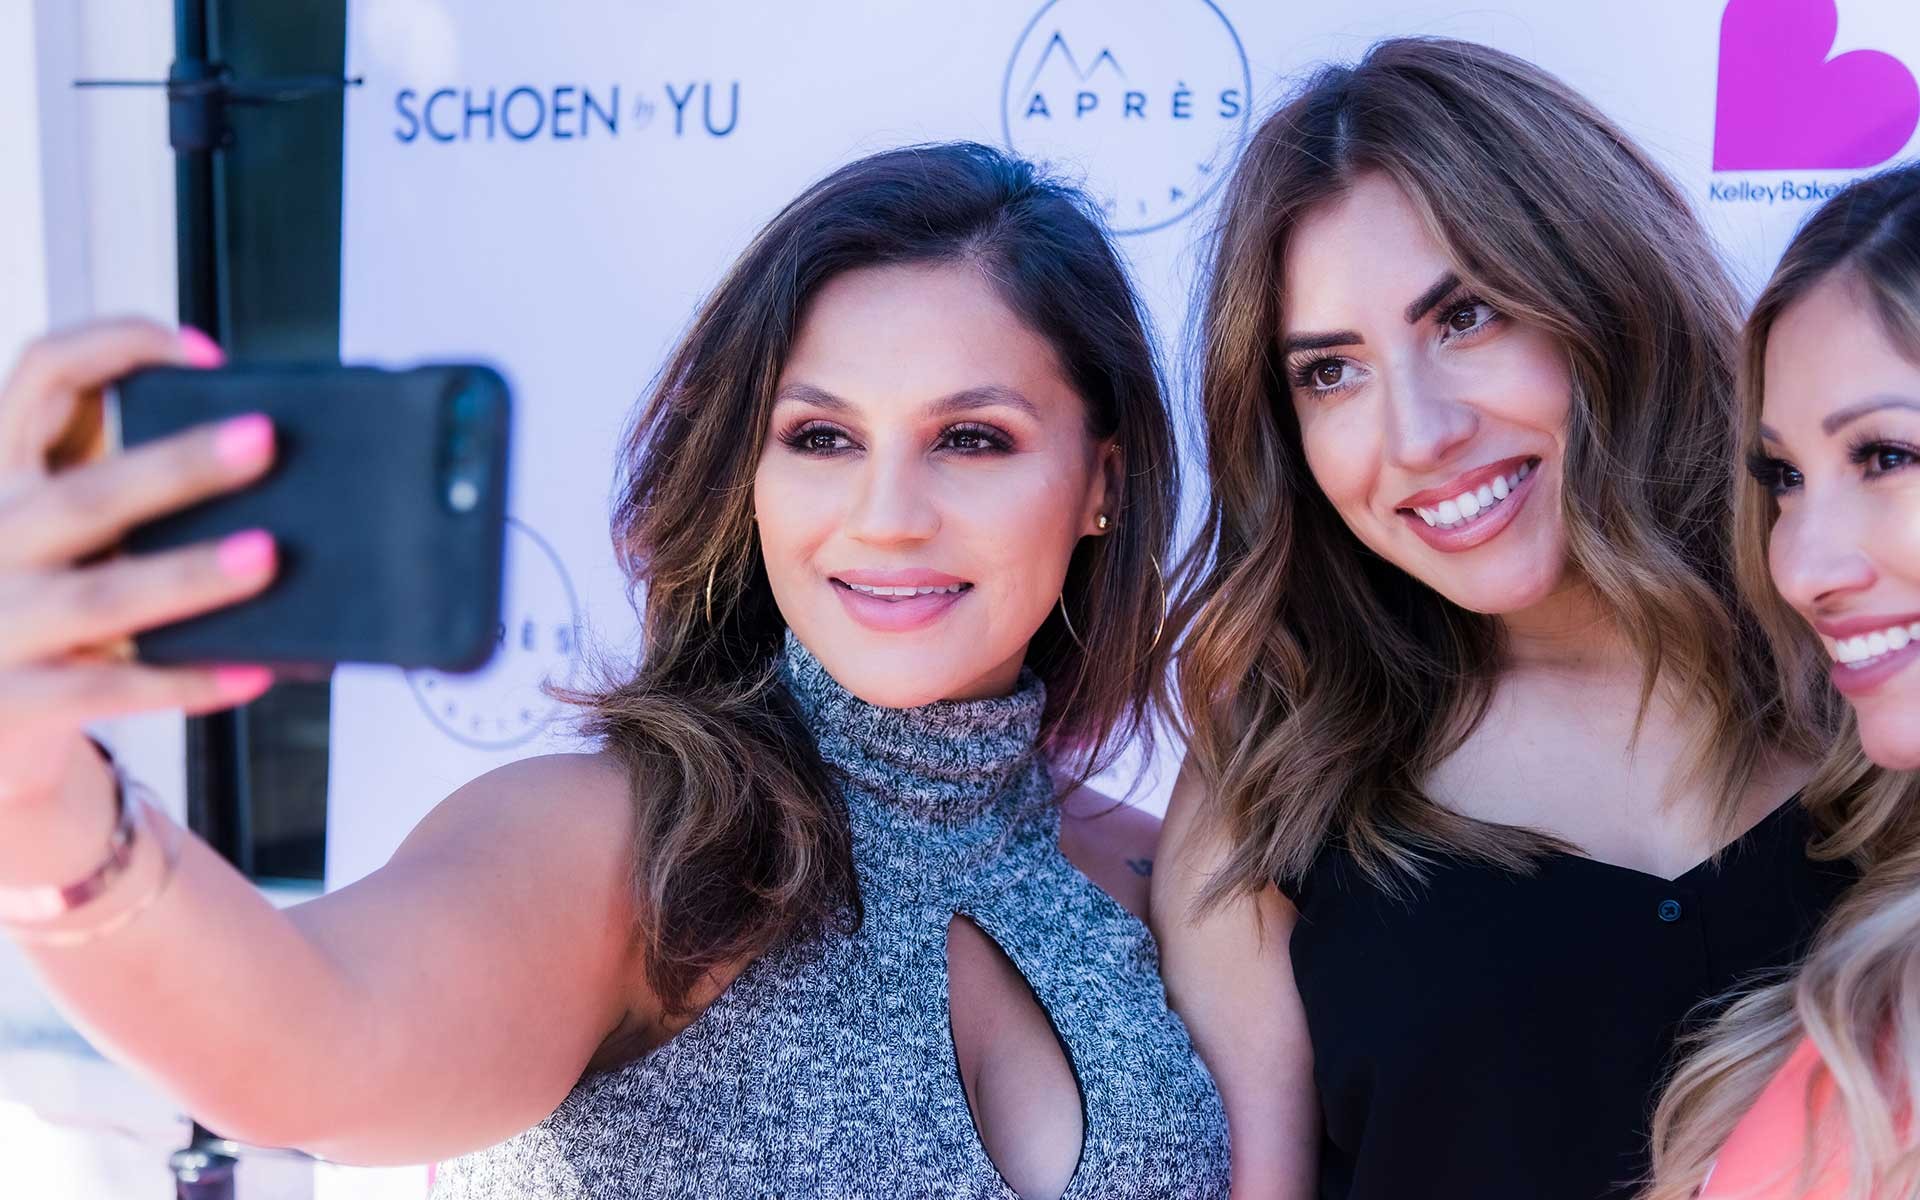
We’ve all been there – you’re on your 12th selfie with your BFF, and you just can’t seem to get it right. The struggle is real! It’s hard not to be overly critical of every photo you take – especially when our social feeds serve countless images of picture-perfect influencers and celebrities who make it look so natural and effortless.
But you know it’s not, right?
Take it from us – a good deal of time and effort typically goes into each of those perfect shots. The makeup, lighting, face angle, camera angle – they all play a big part in creating picture perfection. So what if you could achieve that same Insta-worthy look in your photos – every time? Sign me up, right?!
As brow babes by trade, we know first-hand that many people struggle with creating picture-friendly makeup – so we’re here to help you learn how to fix eyebrows (and eyes!) in photos. You don’t need a make-up artist to put your best face forward in your snaps. All you need are a few professional makeup tips for photography and insider tricks to be picture-perfect in every shot. In this eye makeup tutorial, we’ll dish on picture-friendly makeup tips for – you guessed it – the eyes and eyebrows. As the dominant features of your face, properly defining and highlighting this area can transform your look – and improve your snaps. We’ll look at how the eyes and eyebrows affect your photos and share Kelley Baker-approved eyebrow and makeup tips for making your eye area Insta-amazing every time.
HOW YOUR BROWS AND EYE MAKEUP AFFECT THE PHOTO

Nailing your eye and brow makeup can make or break your pictures. No matter how perfect you look in person, it’s never precisely duplicated by the lens. Typically, a camera lens will wash out and flatten your features to some degree, so using the right tools and techniques to create depth and dimension around the eye can transform how you look on screen.
It’s also about looking put together and polished naturally. The trick is to look like you’re not wearing makeup, right? For example, a thicker, groomed brow can take years off your face and set the stage for eyes that pop. However, it should be subtle, not overpowering. Similarly, improving your eyes on camera involves softly shading and highlighting to enhance, not overwhelm. Using the proper technique and the right brow and eye makeup for photography will make your eyes naturally pop in photos – even if they’re on the smaller side. So, ready to break down Kelley’s photoshoot makeup tips?
Let’s do this!
ACHIEVING CELEBRITY-STYLE BROW LOOK
Let’s be clear – no one has naturally perfect eyebrows. All of us need a little grooming to achieve perfect camera-ready brows. Whether it’s eyebrows that look uneven in photographs, brow areas where hair doesn’t grow, or just sparse brows overall, it takes care and maintenance to get a picture-worthy set.
To get started on perfecting your eyebrows for the camera, you first need the right tools. Kelley suggests a highlighter, a highlighter smudge brush, and an eyebrow powder or brow pencil that complements your coloring. You can get most of these in one of Kelley’s eyebrow kits, like her Best of Brows Kit. If you aren’t sure where to start with shaping, check out one of KBB’s earlier posts to find the right brow shape for your face shape.
Once you have your brows shaped and ready, it’s time to fill and highlight them to perfection. For example, in this video, Kelley demonstrates how to apply highlighter around your eyebrows and other tips for making thinner brows look naturally fuller. Check it out and master how to create amazingly picture-perfect brows without the dreaded “drawn in” look.
As you can see, it’s essential to use the right products and techniques to achieve symmetry and keep your eyebrows from looking uneven in pictures. If self tweezing scares you, and you’d prefer to wait for professional help, check out Kelley’s new Best of Brows Kit, which includes the tools you need to tame and conceal an unruly brow until you can make a salon visit.
PICTURE FRIENDLY EYE MAKEUP TIPS
Now, let’s talk about how to do your eye makeup for pictures. Like brows, it’s all about highlighting areas of the eye to make them pop.
Start with a neutral color close to your skin tone and apply it evenly over each eyelid to even them out.
Add a darker shadow to the creases where your eyeball and brow bone meet. Darkening this area adds depth and makes your eyes pop.
Now, use a highlighting shadow on the inside corners of your eye to lighten the darker areas. Like the eyebrows, gently blending these shadows will create a soft, natural look while also making your eyes appear bigger and brighter.
Once your lids are blended and beautiful, use a thin brush to apply a dark shadow to your eyelids right at the lash line – getting as close to the top eyelashes as you can. Think of it almost like pushing the shadow into your lash line while lining them. Lining this area frames the eyes, as well as makes the lashes appear fuller. You can do the same thing to the bottom lashes – just be sure to gently blend it in to achieve a softer line and natural look.
Now, use an eyelash curler to gently curl your lashes up by starting at the base and working toward the middle using gentle, even squeezes.
The next step to perfect, picture-friendly makeup is to apply mascara evenly over your lashes. Start at the base and gently wiggle the lash brush up to create separation and avoid clumping. A second coat may be needed to coat them all and create full lashes evenly, but let the first coat dry before applying the second.
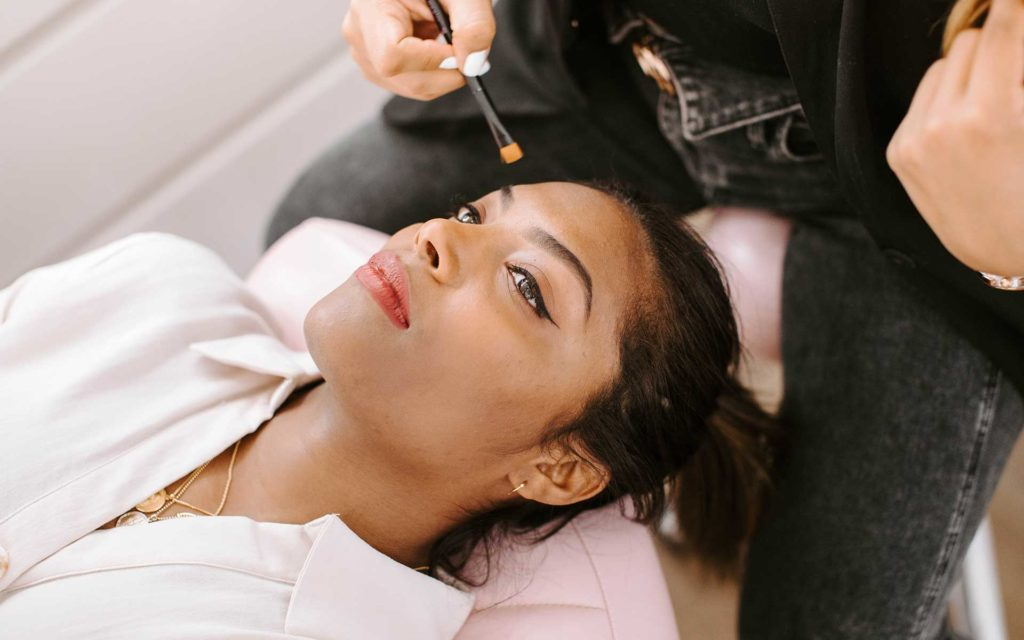
Finally, gently press a concealer into any area under the eye that needs smoothing and evening out. We suggest using the KB highlighter smudge brush for a smooth, even application. Once that’s done, your eyes are ready to wow the camera!
CHECK OUT OUR MOST POPULAR CONTENT
How to get a Resellers License: State by State
Brow Magic: Best brows for your face shape

Stuck at home: Love Your Brows in Between Salon Appointments